Making a silicone prototyping involves multiple steps that can vary depending on the complexity of the design. The process typically involves the creation of a basic silicone prototyping design, molding of the silicone rubber, and inspection of the final product. Here is a step-by-step guide to making a silicone rubber prototype:
- Development concept:
Start by sketching out your idea of a silicone type. This can be done using traditional pen and paper or with the help of digital design software.
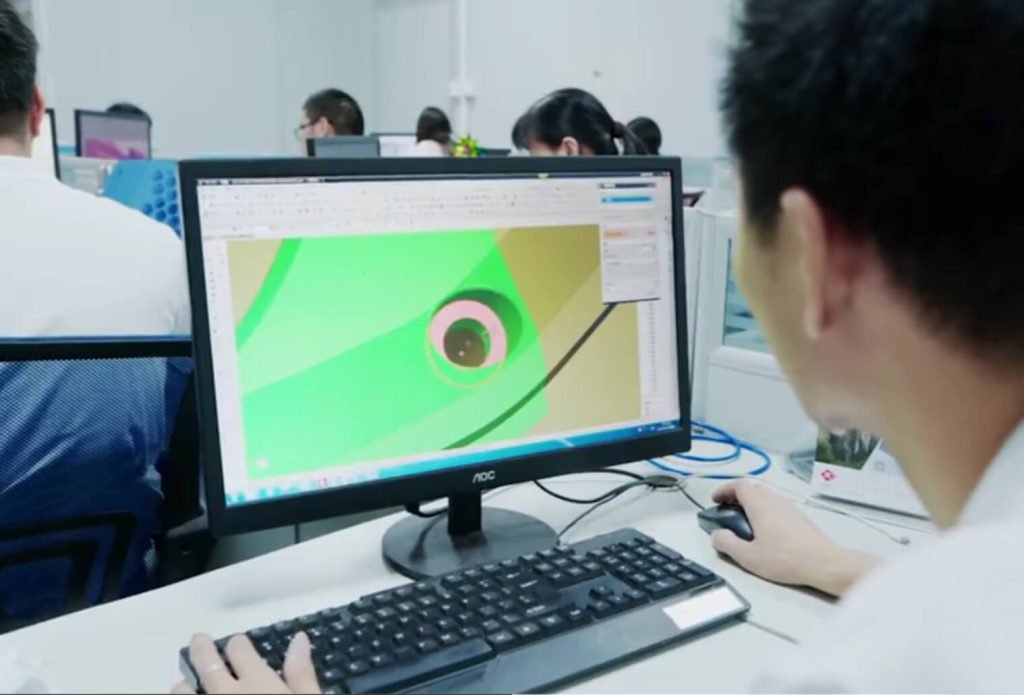
Silicone Prototyping 3D modeling
Use CAD (computer-aided design) software to generate 3D models of silicone mold products. This 3D model can provide a more detailed overview of your design.
Rubber prototype 3D printing
3D printing models can be a valuable step for silicone rubber prototypes. It allows for fit and function testing before entering the molding process.
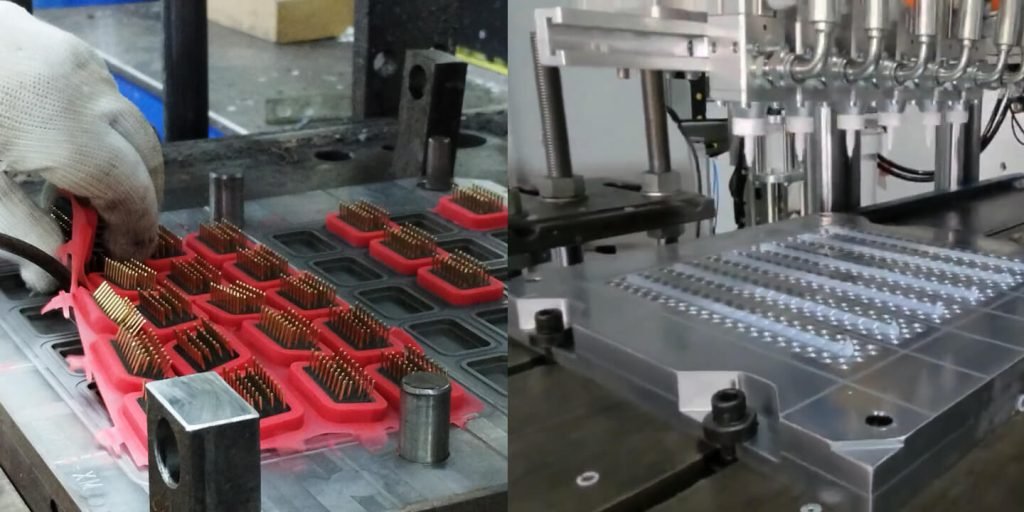
- Develop mold:
After completing the 3D design, the next step involves creating a mold for the silicone prototype. This typically involves CNC machining, 3D printing, or manual techniques to create an accurate master mold based on your design.
- Selection of silicone rubber:
Choose the right type of silicone rubber for your prototype. The choice of silicone rubber depends on the requirements of the end product, such as its hardness, transparency, elasticity, color, heat or chemical resistance.
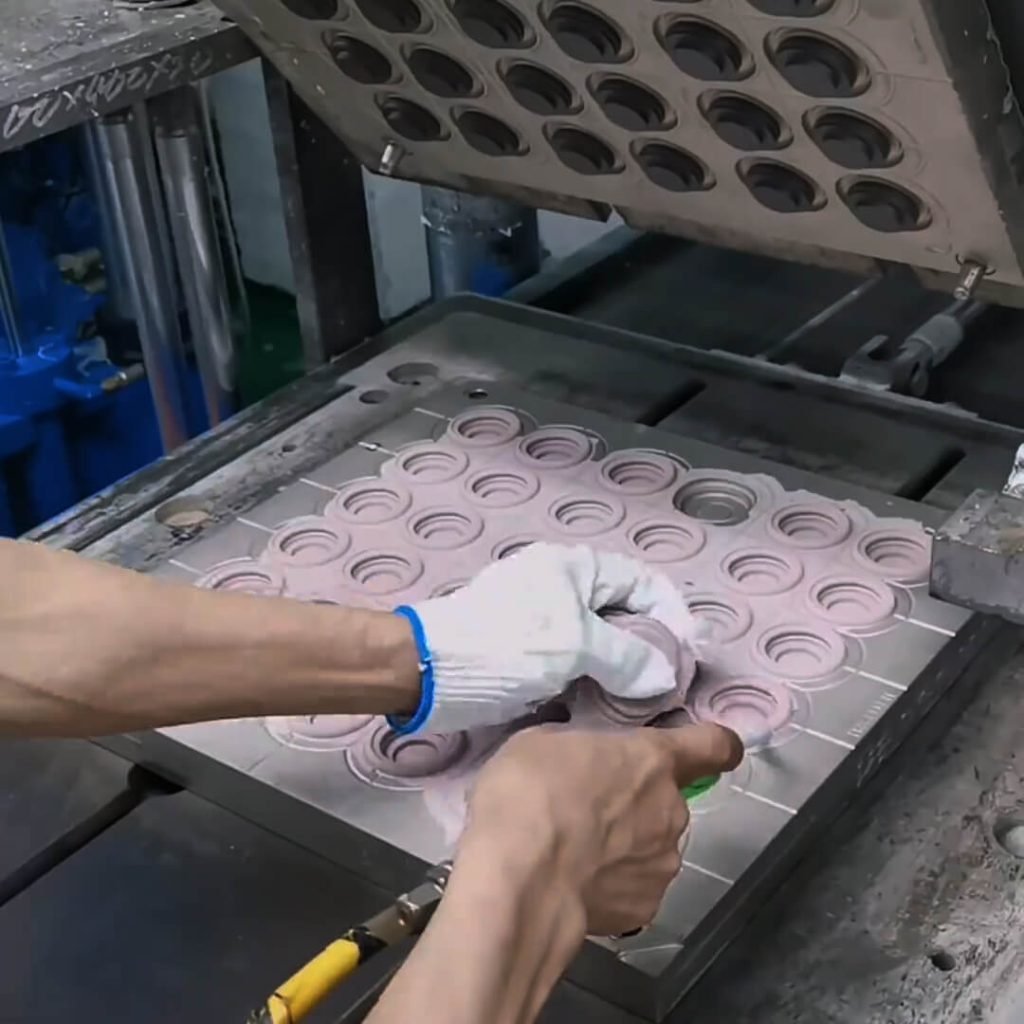
- Manufacturing of silicone rubber prototypes:
The selected silicone is then poured or injected into the mold and allowed to cure. The curing process involves heating the mold to help the silicone shape and cure.
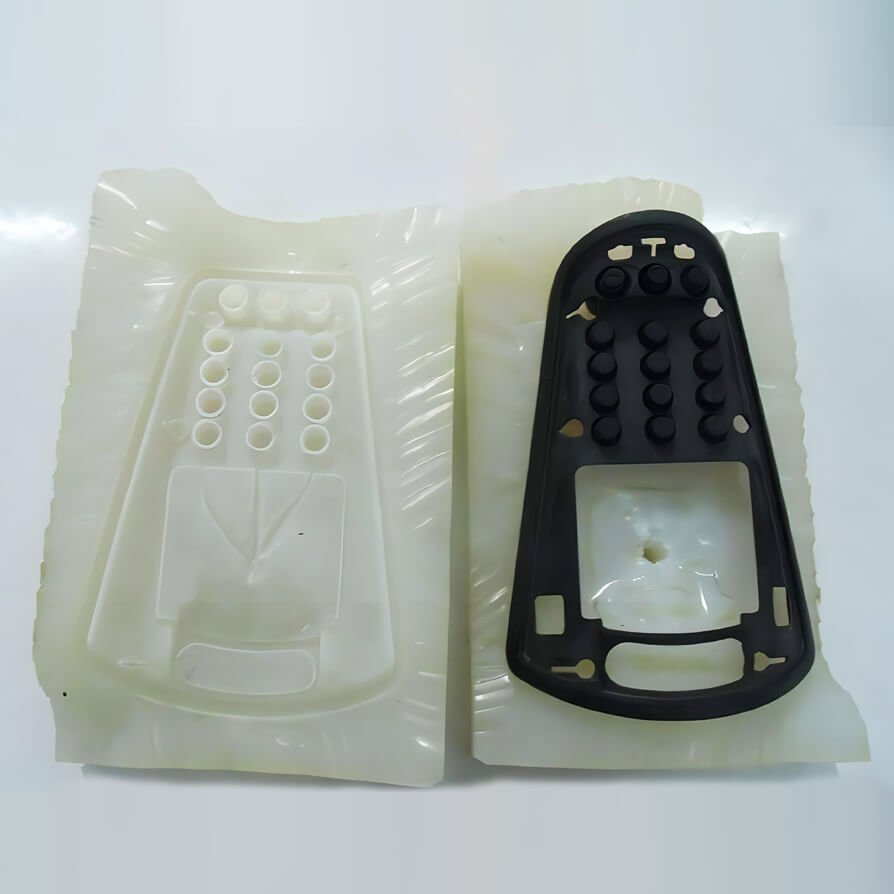
- Release from the mold:
Once the silicone has completely cured, the prototype can be carefully removed from the mold.
- Post-curing:
Depending on the type of silicone used, a post-cure process may be required. This usually involves heating the prototype in an oven to fully cure any residue and achieve optimal physical properties.
- Finishing:
This includes trimming excess material, smoothing rough edges, and adding necessary finishes to complete the prototype.
- Inspection and testing:
Last but not least, conduct thorough quality checks and test the prototype to ensure it operates as designed. If any changes are required, modify the design and repeat the process.
These are general steps, but please note that the process may vary based on your specific project and the capabilities of the silicone prototype manufacturers. Work closely with your manufacturer to ensure the best results.
GET IN TOUCH